Transform your project planning with safe testing environments and scenario analysis
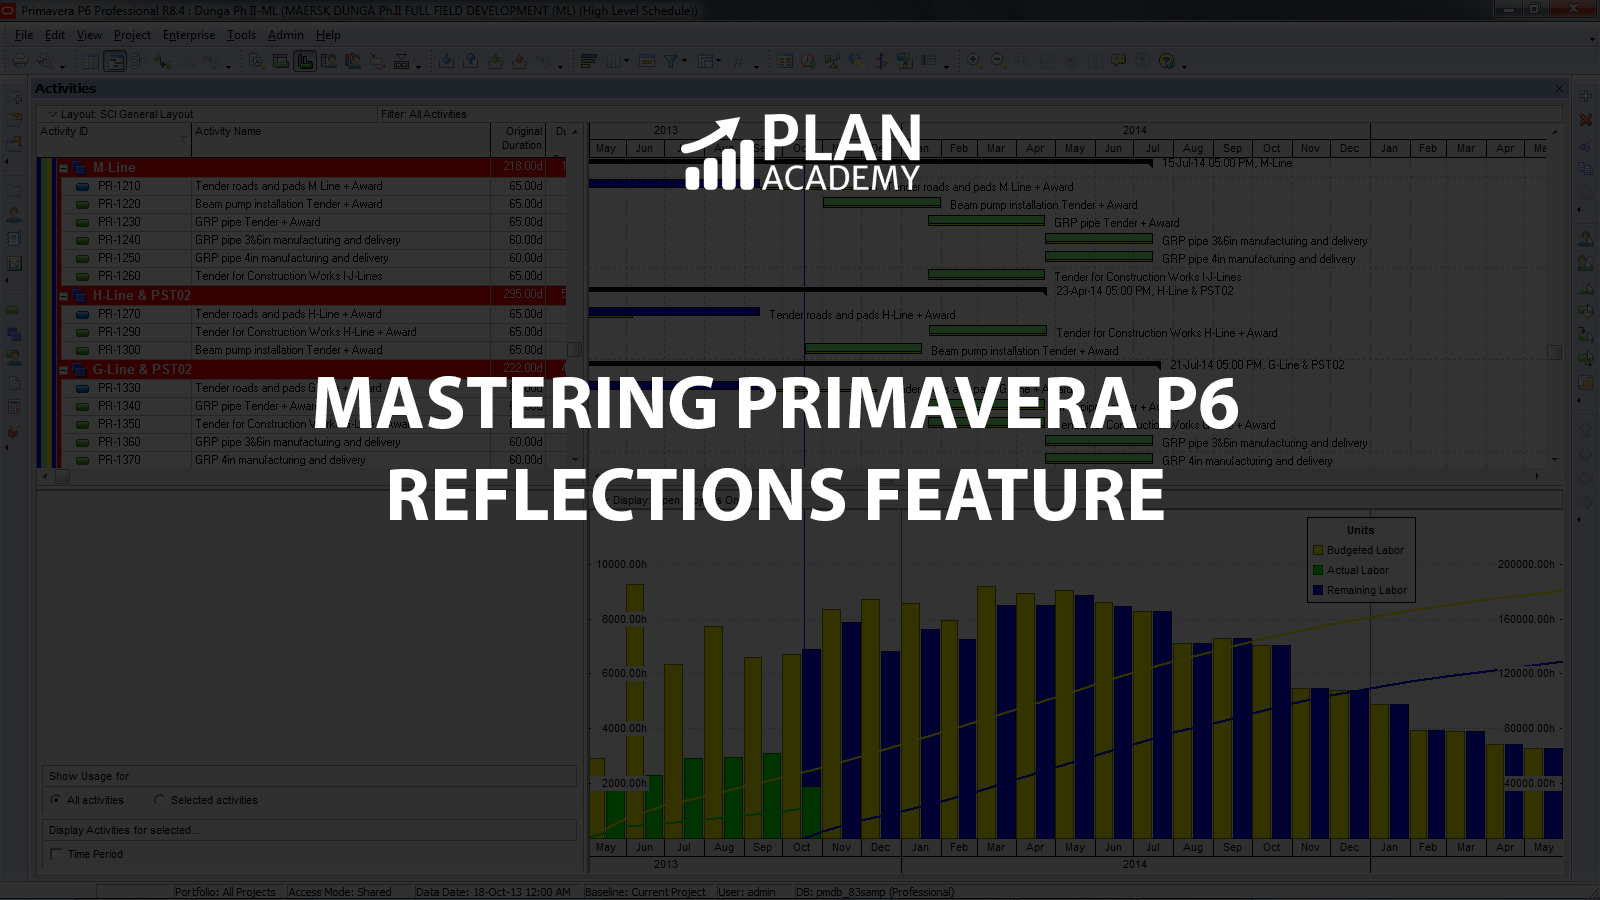
Why Every P6 User Needs to Know About Reflections
Picture this: You’re managing a critical construction project, and stakeholders want to see how adding extra resources would impact the timeline. Or maybe you need to test a schedule recovery plan without risking your carefully crafted baseline. The Primavera P6’s Reflection Project feature is your secret weapon for “what-if” analysis.
In this post, you’ll Learn:
- How to create and manage Reflection Projects safely
- Three powerful use cases that will transform your project management
- Pro tips for avoiding common pitfalls
- When to use (and when to avoid) Reflections
What Exactly is a Reflection Project?
Think of a Reflection Project as your project’s “sandbox” – a linked copy that maintains a live connection to your source project while giving you complete freedom to experiment. Unlike standard project copies that exist in isolation, Reflections allow you to:
- Test changes without risk
- Selectively merge approved modifications
- Preserve active project data like timesheets
- Maintain baseline integrity
Key Identifiers:
– Marked with “What-If” status
– Typically uses the same Project ID with “-1” appended
– Maintains live connection to source project
Use Case #1: Bulletproof Baseline Management
The Challenge: Your project baseline is sacred – but you need to test potential changes without corrupting this critical reference point.
The Reflection Solution: Reflections excel at baseline management by creating a safe testing environment while preserving your original baseline data.
Step-by-Step Process:
1. Create Your Reflection
– Right-click source project ? “Create Reflection”
– Check appropriate boxes in Copy Baselines dialog
– Ensure baseline data transfers for reference
2. Test Your Changes
– Modify durations, relationships, or resources
– Run scenarios without baseline impact
– Document findings for stakeholder review
3. Smart Merging Strategy
– Use Preview Changes window for selective merging
– Create baseline copy before merging (crucial!)
– Review relationship changes carefully
Critical Relationship Consideration: When you modify relationships in a Reflection (e.g., changing Finish-to-Start to Start-to-Start), the original relationship in your source project remains unchanged unless explicitly merged. However, P6 won’t automatically remove deleted relationships – you’ll need to handle these manually.
Best Practice Checklist:
- Use the Preview Changes window for relationship review
- Manually delete unwanted relationships post-merge
- Document all changes for audit trail

Use Case #2: Safe Project Updates That Actually Work
The Challenge: Project updates are inevitable, but one wrong move can compromise weeks of scheduling work.
The Reflection Advantage: Test all updates in a risk-free environment before committing to your live schedule.
Perfect for Testing:
– Activity duration adjustments
– New task additions
– Resource assignment changes
– Relationship modifications
– Schedule compression scenarios
Smart Update Workflow
Phase 1: Preparation
1. Create a Reflection from the current project
2. Archive source project (export as .XER)
3. Document planned changes
Phase 2: Testing
1. Make modifications in Reflection
2. Run the schedule
3. Analyze the impact on the critical path
4. Review resource implications
Phase 3: Selective Merging
1. Open the Preview Changes window
2. Review all differences at the activity level
3. Check “Merge” boxes for desired changes
4. Pay special attention to relationship updates
Limitation Alert: What Won’t Merge Automatically
– Deleted activities
– Removed WBS elements
– Deleted relationships
– Modified Activity IDs (creates duplicates!)
Solution: Plan for manual cleanup in your source project post-merge.
Use Case #3: Advanced Scenario Analysis & Resource Optimization
The Power of “What-If” Analysis. This is where Reflections truly shine – creating multiple scenarios to find the optimal project approach.
Example Scenario: Schedule Recovery Analysis
1. Setup Multiple Reflections
– Reflection A: Additional resources
– Reflection B: Parallel task execution
2. Resource Allocation Testing
– Open the Activities window in Reflection
– Add resources to critical activities
– Reschedule and analyze impact
3. Advanced Resource Analysis
– Use resource histograms for visualization
– Leverage the Resource assignment sheet
– Identify overallocation/underutilization
– Generate stacked histograms for comparison
Comparison Tools That Make a Difference
– Detailed difference reports
– Duration and date change tracking
– Resource assignment comparisons
– Critical path impact analysis
Pro Tip: Create multiple Reflections pointing to the same source project for comprehensive scenario comparison.
The Complete Pros & Cons Breakdown
Major Advantages
Safe Testing Environment
– Zero risk to the original schedule
– Complete freedom to experiment
– Instant rollback capability
Precision Control
– Selective merging via Preview Changes
– Granular change management
– Relationship-level control
Collaboration Excellence
– Export as .XER files for sharing
– Team review capabilities
– Stakeholder presentation ready
Efficiency Gains
– Faster than manual project copying
– Built-in backup options
– Streamlined workflow
Key Limitations
Deletion Limitations
– Manual cleanup required for deletions
– Relationships don’t auto-delete
– WBS changes need manual sync
ID Management Issues
– Activity ID changes create duplicates
– Unique identifier conflicts
– Post-merge cleanup necessary
Platform Restrictions
– P6 Professional only (not EPPM web)
– Administrator permission dependent
– Limited to a desktop environment
Expert Best Practices & Pro Tips
Before You Start
1. Verify Permissions – Ensure you can create and merge Reflections
2. Document Strategy – Plan your testing approach
3. Backup Everything – Create .XER exports and baselines
During Testing
1. Test Incrementally – Make changes in logical groups
2. Document Findings – Keep detailed change logs
3. Validate Results – Run schedule calculations after each change
Merging Like a Pro
1. Review Thoroughly – Use Preview Changes extensively
2. Merge Selectively – Don’t merge everything at once
3. Clean Up Manually – Handle deletions and duplicates post-merge
Advanced Techniques
- Create naming conventions for multiple Reflections
- Use color coding for different scenario types
- Leverage reporting tools for stakeholder presentations
- Integrate with other P6 features like earned value analysis
Common Pitfalls & How to Avoid Them
Pitfall #1: Relationship Confusion
Problem: Assuming deleted relationships will auto-remove
Solution: Manual relationship cleanup checklist
Pitfall #2: Activity ID Changes
Problem: Creating duplicates through ID modifications
Solution: Avoid changing Activity IDs in Reflections
Pitfall #3: Over-Merging
Problem: Merging all changes without review
Solution: Use selective merging strategy
Pitfall #4: Missing Backups
Problem: No fallback if merge goes wrong
Solution: Always create baselines before merging
When to Use Reflections (Decision Framework)
Perfect Scenarios
- Testing schedule compression options
- Resource allocation optimization
- Baseline impact analysis
- Stakeholder “what-if” requests
- Schedule recovery planning
- Change order impact assessment
Avoid When
- Making simple, single-activity changes
- Working in EPPM web environment
- Lacking proper permissions
- Need real-time collaboration
- Working with external systems integration
Your Next Steps to Reflection Mastery
Primavera P6’s Reflection Project feature isn’t just another tool – it’s your gateway to confident, risk-free project management. By mastering the three key use cases (baseline management, project updates, and scenario analysis), you’ll transform how you handle project planning challenges.
Key Takeaways:
- Reflections provide unmatched safety for testing changes
- Selective merging gives you precise control
- Manual cleanup is required for deletions
- Multiple scenarios enable optimal decision-making
Ready to Level Up Your P6 Skills?
The Reflection feature is just one piece of becoming a Primavera P6 expert. Whether you’re looking to master advanced scheduling techniques, optimize resource management, or become the go-to scheduler in your organization, proper training makes all the difference.
Want to dive deeper into P6 mastery? Explore Plan Academy’s comprehensive Primavera P6 courses designed by industry experts who understand real-world project challenges. From foundations to advanced techniques, we’ll help you become the scheduler your projects need.